I am a firm supporter of plagiarism, at least when it benefits me!
Here's an article I snagged from
Ubiquiti, worth sharing in case you haven't read it.
Introduction
This guide shows the basic requirements and steps to build a WISP (Wireless Internet Service Provider) using Ubiquiti AirMax devices; suggested equipments and examples are intended for a system of up to 300 subscribers based on a single Base Station and “centrally managed” from the principal router. It covers the following themes: basic legal and commercial requirements, required equipments and basic services on the Base Station, clients’ configuration and general recommendations for starters.
The examples on this guide were designed having in mind an AirMax 5.8GHz based solution. However, this process is similar to those of AirMax 2.4GHz devices. Be careful to use always radios and antennas, which operate on the same frequency.
Note: this guide covers in depth only topics directly related to Ubiquiti devices. Any other wireless devices, routers, networking devices, complementary devices or services will be simply mentioned or treated marginally, but this document does not pretend to actually focus on them.
Legal and commercial requirements
Legal requirements may vary from country to country; hence it is impossible to provide one single list of requirements applicable for all cases. In consequence, this issue will be treated only in general terms, notwithstanding that fact some country-specific examples may be pointed out.
Note: It is user responsibility to be informed of any specific requirements local authorities may require.
Among the most common requirements you may e.g. find the following:
- Permissions to operate a business in general, subject to tax laws and codes of commerce.
- Specific permits to serve as Internet Service Provider.
- Obtaining licenses to operate in the selected radiofrequency (if applicable). In the U.S., you must fill out and send forms #477 and #445 (in case your WISP is a profit-oriented business) to the FCC.
- Governmental or federal laws related to monitoring and/or logging of users’ activities. In the U.S., your system must be CALEA compliant.
- Any other specific requirement authorities require in order to operate as a WISP.
BaseStation
Minimum requirements:
- High speed Internet connection, enabling you to resell the service to third parties. (Usually residential connections don’t allow doing that; ask your ISP for more information).
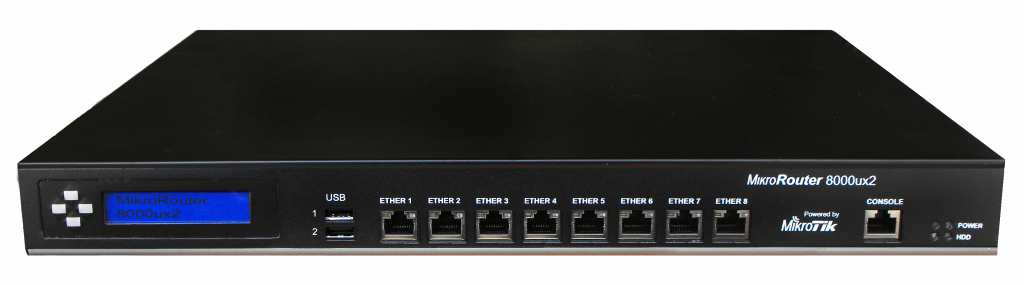
- A router (Mikrotik, Pfsense, Cisco, etc…) to manage clients’ IP addresses, bandwidths, traffic prioritization, among other basic services your network may require. Simply as an example: a MikrotikRouterboard 1100 (or RB450G for smaller WISP) may be a good choice for a relatively low-cost solution without sacrificing performance.
- An Ethernet switch (just in case your router doesn’t have free ports available).
- 3 AirMaxBaseStation 120º Antennas (alternately an array of 4 AirMaxBaseStation 90º Antennas, for higher capacity and throughput).
- 3 Rocket M5 (in case you use an array of 4 AirMax antennas, you must use 4 Rocket M5)
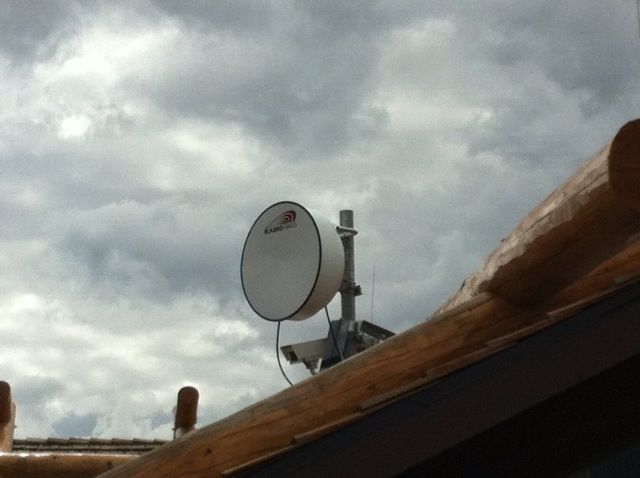
- Available space on a telecommunication tower, a tall building’s roof or another elevated place, which allows you sufficient height to have Line-of-Sight between the Base Station and customers devices (CPE).
- An CALEA compliant system (in the U.S.)
Also it is recommended, but not a must, to use the following:
- A UPS system supported by an electrical power generator (Diesel, solar panel, etc) for redundancy (UPS capacity depending on the autonomy time you consider pertinent)
- Multiples Internet connections for a higher bandwidth and redundancy in case of failures.
Step to step
- Connect the Rocket M5s (running AirOS 5.2 or a higher version) to their respective AirMax Antennas.
- Connect a FTP cable (shielded cable) between the PoE device, on the port labeled as PoE, and the first Rocket M5; then connect the PoE device to the power source.
Note: Connect one device at each time; configure the first one (change of IP address), only then the second one, and subsequently the third one.
- When using a UTP (or shielded) cable connect the port labeled LAN on the PoE device to an available Ethernet port on your router or switch (in case of any doubt with it, consult your router manual).
- Login to the first device (in case of you don’t know how to do that, check this guide) and change the device’s IP address, assigning one within your network range.
Note: You must assign a different IP address to each Rocket M5.
- Enter the new IP address into the browser’s address bar to login again. Then define the following parameters on Wireless tab:
- Wireless Mode: Access Point WDS
- SSID: “Network’s name”, you may use the same name on all your AP if you like. However, it is recommended to use different names for easier identification in the network you are connected to.
- Country code: choose your country
- Channel Shifting: disabled
- Frequency: select an un-crowded frequency (assuming you are allowed to use it, in case local restrictions apply).
Note: Use different channels (frequencies) for each Rocket M5 –in AP mode – with enough separation to avoid self-interferences from your own AP.
- Output Power: select maximum power allowed by your authority in your country.
Note: In some cases by using less power you may achieve better performance.
- Max Tx Rate: select MCS12 (if WPA2 is selected) and enable “Auto ACK” option.
- Security: select WPA2 (or another security method if you wish). However, it is highly recommended not to use WEP or MAC ACL unless they’re combined with WPA security, since they are highly insecure).
- Press the “Change” button to confirm changes, and then press “Apply” to apply the new configuration. Usually it takes a few seconds until changes will have applied.
Also, you may change some parameters on the “Advanced” page:
- Enable AirMax: Enabled (assuming your network is only using AirMax CPE, associated to each AP).
Note: Remember that in case you chose not to use the AirMax option, each Access Point will be limited to a maximum of approx. 35 client devices.
- ACK Timeout (Auto Adjust): Enabled
- Press the “Change” button to confirm changes, and then press “Apply” to apply the new configuration. Usually it takes a few seconds until changes will have applied.
- In some particular cases you may need to do some changes in other parameters; for more information see the AirOS 5 User’s Manual. However, for most scenarios, the previously suggested settings are enough to start using your Base Station.
- Now, repeat previous steps for the other 2 Rocket M5; do so one by one. Remember to change the IP address of each Rocket M5, select a different frequency and SSID (in case you decided to use different Wireless network names) for each Access Point.
- Once all equipments are properly configured, (only) then install them on their definitive locations.
Note: If for any situation you should require to go to “default” on a RocketM5, you won’t need to access the device physically, just press the “Reset” button located on the PoE device for a few seconds.
Clients
Ubiquiti has a large variety of devices that can act as Station (CPE); for more details regarding which product is the best for your needs, consult this guide.
In the following example, I am going to configure a NanoStation M5, running AirOS 5.2, as our first client.
Go to the “Wireless” tab and set the following parameters:
- Wireless Mode: Station WDS
- SSID: type the network’s name you want to connect. In case all your AP using the same SSID and wanting to connect to a specific AP, type the MAC address of the AP you want to specifically associate in the “Lock to AP MAC” field.
- Country Code: same as selected on AP.
- Channel Width: this value must coincide with the AP’s Channel Width.
- Channel Shifting: Disabled
- Output Power: select maximum power allowed by your authority in your country.
Note: In some cases by using less power you may achieve better performance.
- Security: this value must coincide with the AP’s security method.
Go to “Advanced” tab:
- In Stations you don’t need to enable AirMax, the device automatically detects if the AP associated is using AirMax or not. However, you may define AirMax Priority Level; in ascendant priority order they are: None, Low, Medium and High.
- In case you want to limit the CPE’s bandwidth, say for download and/or upload passing through the device’s Ethernet interface, enable “Traffic Shaping” option, however, at the same time you may use more complex bandwidth control and prioritization policies in the principal Router. In this example, we are going to limit the download bandwidth to 2048Kbps and the upload bandwidth to 512Kbps.
Note: These values are not universal, and you should be aware of how much bandwidth you offer your clients, based on factors like these: competitors’ offers, amount of bandwidth you can buy from your ISP, user profiles and strategies of your own business model.
Go to “Network” tab
- It is recommended to use the Router mode in your client’s device (CPE) to avoid errors caused by users, such as: an inexpert user connecting his SOHO Router’s LAN port to the NanoM5, thereby creating a second DHCP server on your network, provoking incorrect assignation of IP addresses; or other kinds of inconveniences that may give you big headaches. The activation parameters are as follow:
Within the “Wireless” tab, define the following settings:
- Network Mode: Router
- WLAN IP Address: define device’s private IP in the user’s network. In this case: 192.168.1.1.
- Enable NAT: Enabled
- Enable DHCP Server: Enabled
- Range Start: 192.168.1.100
- Range End: 192.168.1.110 (this range allow the user 10 available IP addresses for his/her computers or other network devices).
For more information about the Router mode see the AirOS 5 User’s Manual.
General Recommendations
Based on my personal experience as a WISP’s owner, I would recommend the following:
- Use all CPEs in Router mode, since this avoids specific user problems to penetrate into the entire network.
- Assign solid and well-planned QoS policies, traffic prioritization and bandwidth limitations from the principal Router; this will help you to improve your users’ experience, especially at peak hours.
- Use AirControl to monitor your network; this is especially useful when you have a lot of users. Also, you may combine it with other network monitoring software.
- If available, always use Ping Watchdog in your Ubiquiti devices and Routers. It helps prevent device hang-ups.
- Use always good quality materials (cables, connectors, mounts, etc), ensure quality installation, although more expensive, it could save you headaches in the short and long terms.
- In case of questions or doubts, visit Ubiquiti’s Forum, there are thousands of answered questions; and in case you can’t find an immediate result for your problem you can always you post a question; a friendly community will certainly assist you.